Simplifying Transactions: A Step-by-Step Guide to Using Paygates || CashApp
In today's digital age, online transactions have become an integral part of our daily lives. Whether it's paying bills, purchasing goods, or transferring money, the convenience of electronic payments cannot be overstated. Paygates, a versatile platform offering multiple payment options, streamlines these transactions, ensuring a seamless experience for users worldwide. In this guide, we'll walk you through the simple steps of using Paygates for your financial transactions.

Step 1: Accessing Paygates To begin your transaction journey with Paygates, navigate to www.bellsempire.com. Once you're on the Homepage, locate and click on the "Paygates" option. This will lead you to a page where you'll find an array of payment methods available to choose from.
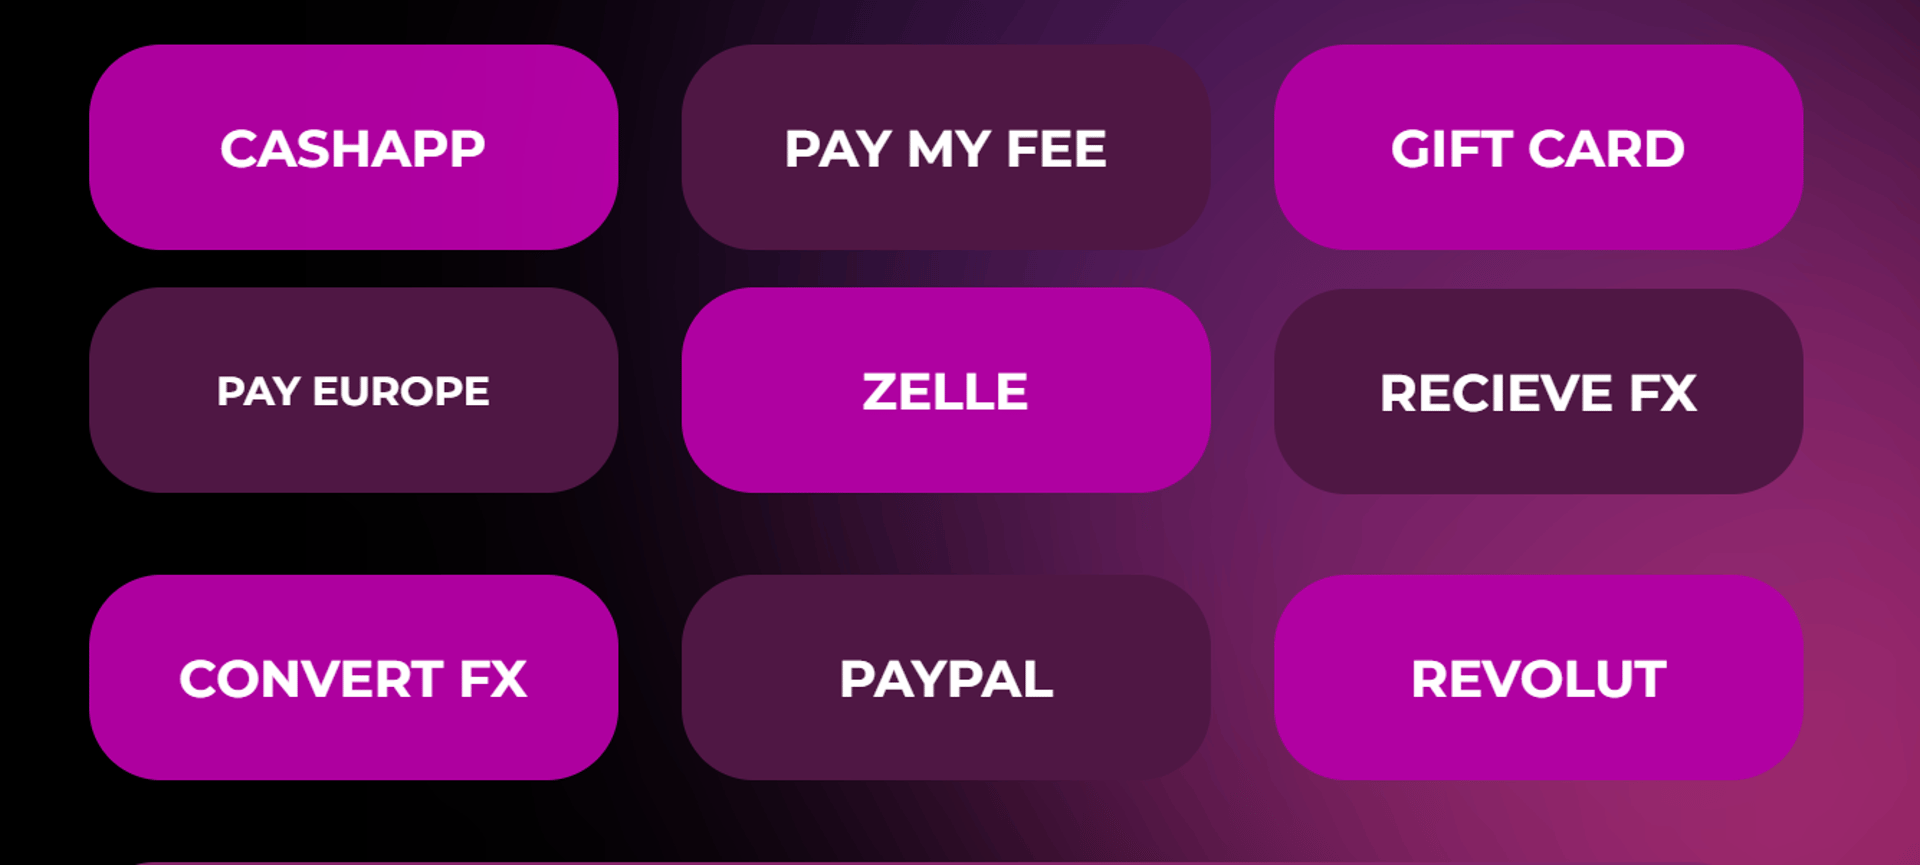
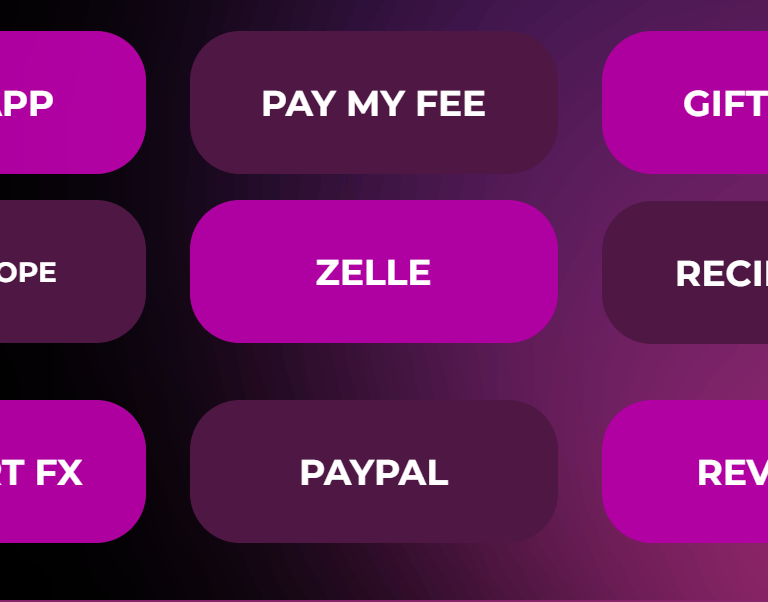
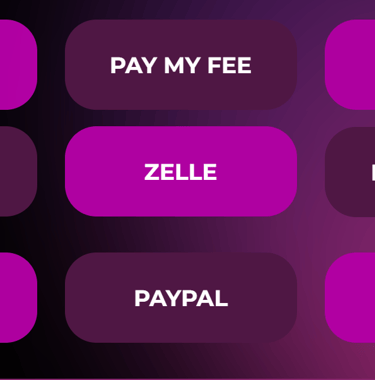
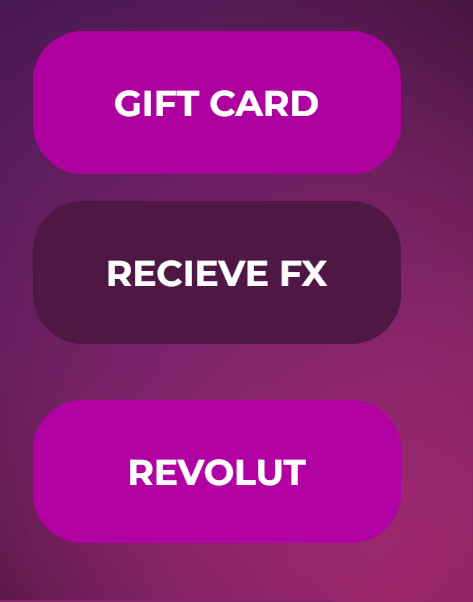
Step 2: Choosing Your Payment Method Upon reaching the Paygates page, you'll encounter several payment options such as CashApp, PayMyFee, Giftcard, Pay Europe, Zelle, Receive FX, Convert FX, PayPal, and Revolut. Depending on your preference and convenience, select the payment method that best suits your needs.
Step 3: Selecting Tags and Copying After selecting your preferred payment method, you'll be directed to a page displaying different tags associated with it. Carefully choose the tag relevant to your transaction and copy it for later use.
Step 4: Initiating the Transaction Now, it's time to initiate the payment. Send the desired amount through your chosen payment method to the copied tag. Remember to take a screenshot of the payment confirmation for your records.
Step 5: Providing Transaction Details After completing the payment, you'll need to provide additional transaction details. These typically include the amount sent, your contact number, and your preferred mode of receiving funds – either Bitcoin (BTC) or bank transfer.
Step 6: Contacting Customer Support To finalize the transaction, reach out to the customer care representative. Send them the screenshot of your payment along with the requested transaction details. This step ensures that your payment is processed promptly and accurately.
Step 7: Confirmation and Receipt Once the customer support team verifies your payment, you'll receive a confirmation along with a receipt for your transaction. You can now rest assured that your funds are on their way to the designated recipient through your chosen payment mode.


Requesting a Gateway:
In situations where you require a specific payment gateway not listed on the Paygates platform, you can easily request one. Simply click on "Request a Gateway," fill out the form with your details and requirements, and submit it. You'll then be directed to a customer care representative who will suggest and recommend a suitable gateway for your needs, ensuring a seamless transaction experience.
In conclusion, Paygates offers a user-friendly platform for conducting online transactions seamlessly. By following these simple steps and utilizing the option to request a gateway when necessary, you can navigate through the payment process with ease and confidence. Whether you're making a purchase, settling bills, or transferring funds, Paygates simplifies the journey, making financial transactions hassle-free and efficient.